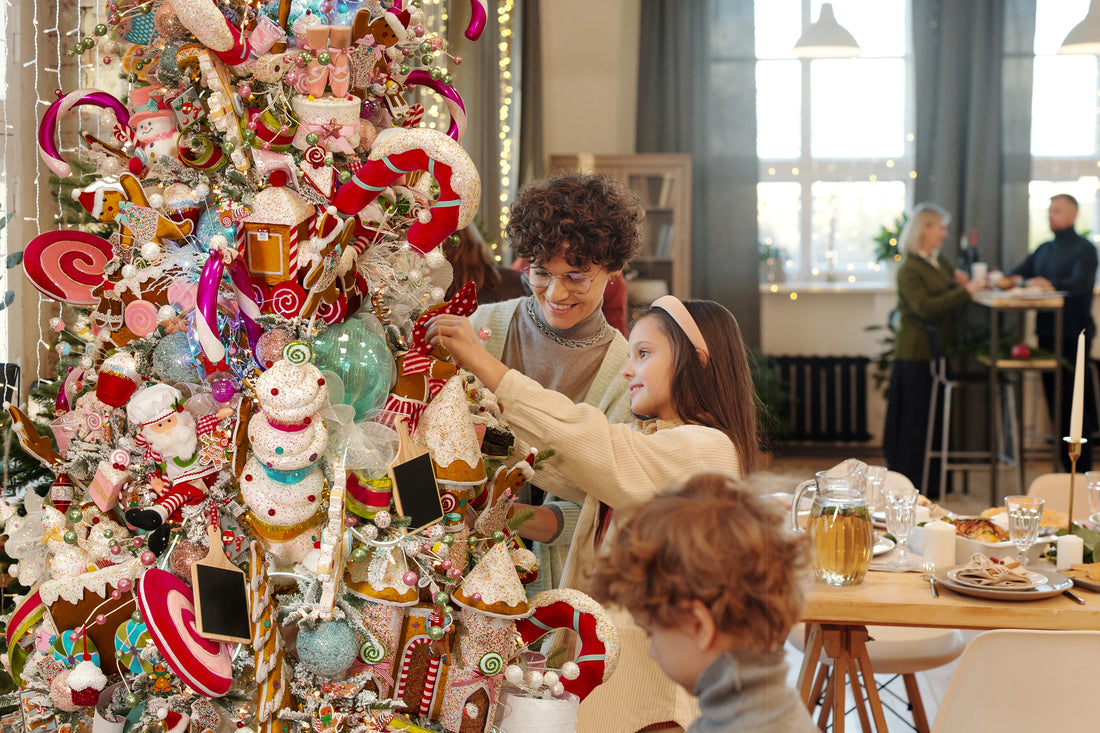
There are so many details to consider when decorating your Christmas tree - lights, ornaments, and of course all the sparkle! Each and every year, our team creates a wonderland of unique, custom looks to showcase that signature Christmas Palace look. We’ve assembled our top designers and outlined some of their favorite tricks and tips in this Christmas tree decorating guide so you can learn to decorate your Christmas tree like a pro.
The Christmas Palace Decorating Checklist
- Tree
- Lights (if the tree isn’t prelit)
- Ribbon or garland
- Large accessories
- Floral picks and stems
- Tree topper accessories
- Tree topper centerpiece
- Ornaments
Step 1: Shape the tree and add lights
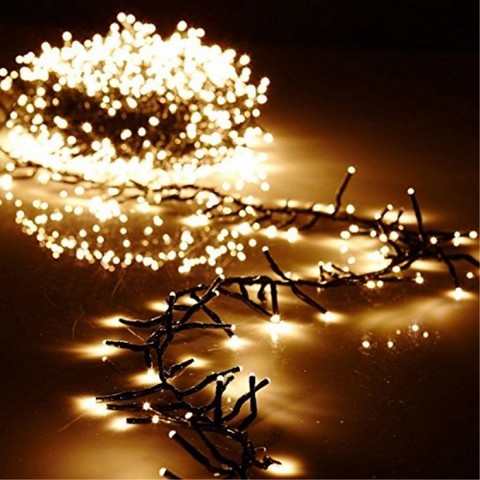
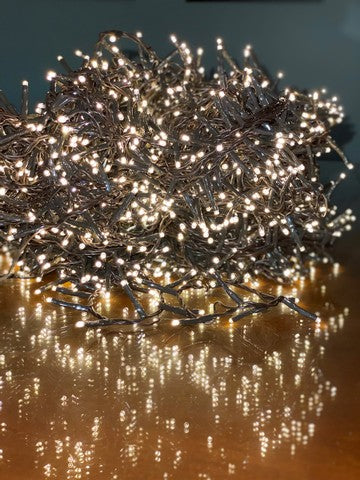
Any kind of tree, no matter if it’s real or artificial, can benefit from having its branches shaped and separated. If the tree is pre-lit, there’s no need to do anything else, but if it isn’t, twinkle lights with different settings or lights with M5 bulbs that are shaped to look like circles add a unique touch. LED lights are also a great option and are perfect for saving energy in your home.
Keep the lights on while decorating the tree to see what the finished product will look like, this way you won’t miss a spot!
Shop all Lights.
Step 2: Add ribbon or garland
Start ⅕ of the way down the top of the tree, and use floral wire to hold in ribbon or garland if necessary. Floral wire is a great solution to proof your home against little helpers or pets who might get into the tree.
Playing with texture and pattern in ribbon is a great way to spruce up traditional solid colored ornaments.
Shop all Ribbons.
Step 3: Add oversized decorations
Get creative! Lanterns, deer, figurines, stuffed animals, and cute characters all work great on a tree. Use floral wire for heavier items and place them towards the inside of the branches or towards the bottom of the tree. Remember to not use a live flame on candles!
Shop Oversized Decor.
Step 4: Add floral picks
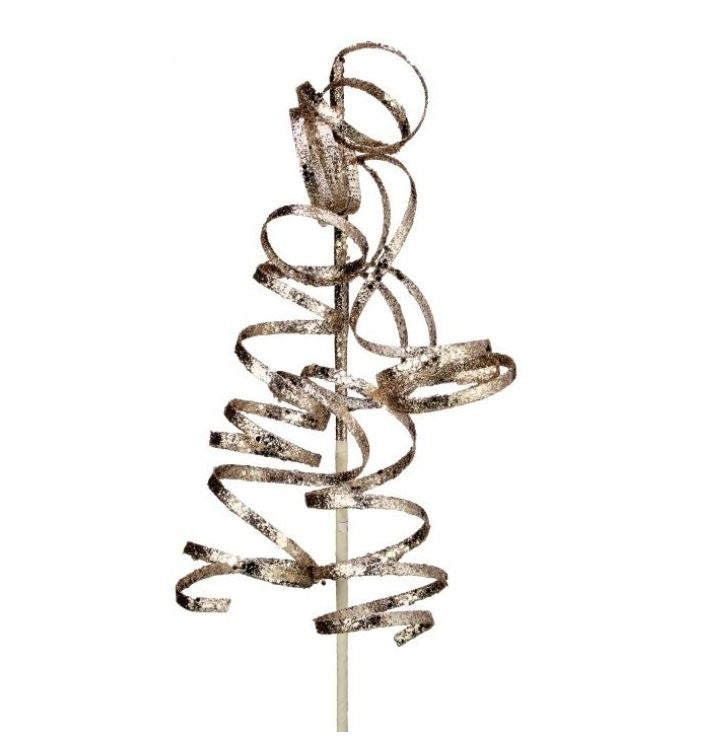
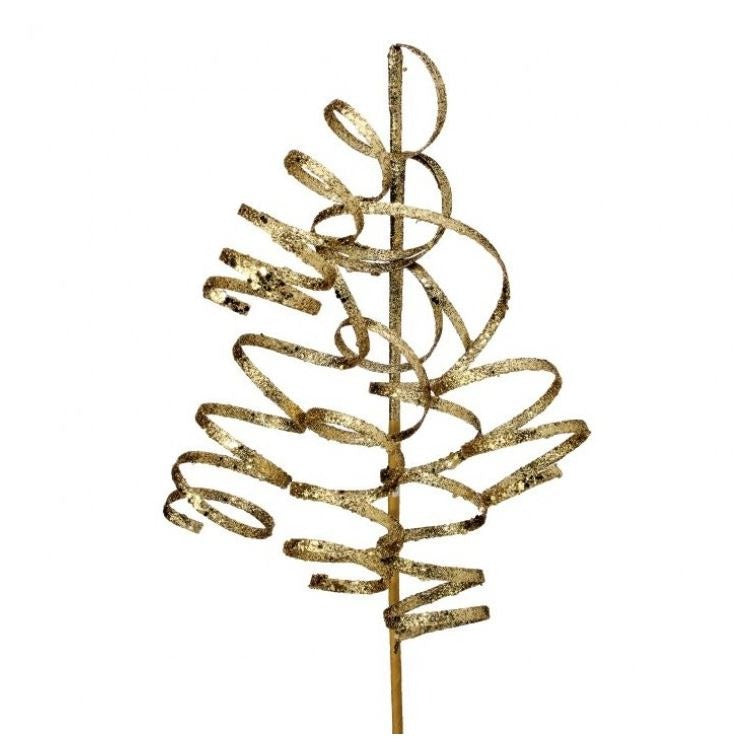
Flower stems and branches add dimension to a tree, and there are endless styles to choose from. Go the traditional route with cranberries, magnolia leaves, and poinsettias, or add glitter character flowers or cartoon styled branches for a whimsical theme. No need to wire them into the tree, just place in and you’re good to go!
Design tips: The picks closest to the top of the tree might need to be turned upside down so that you can’t see the underside at eye level. We also recommend stacking multiple picks together to create miniature floral arrangements in the branches.
Shop Floral.
Step 5: Create or place the tree topper
Starting ⅕ from the top of the tree, start adding left-over floral picks at an angle, filling in with shorter branches as you go higher and higher. Oversized decor pieces or large ornaments looks great placed as the centerpiece, or add a traditional tree topper to complete the look.
Shop Tree Toppers.
Step 6: Add ornaments
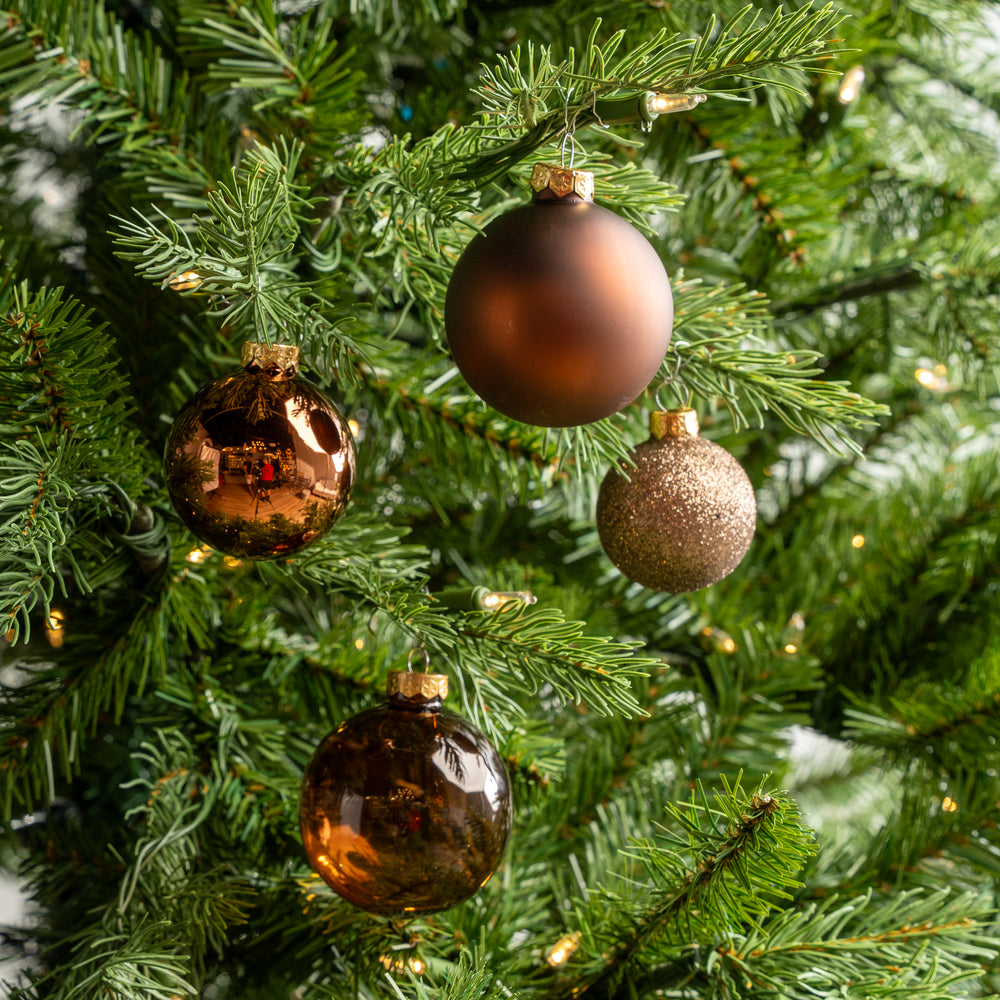
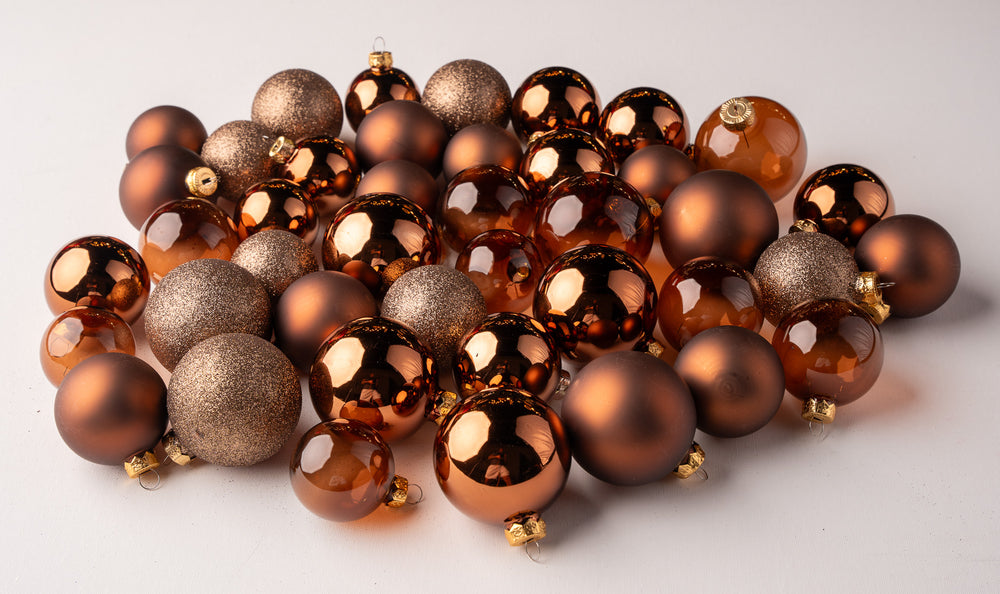
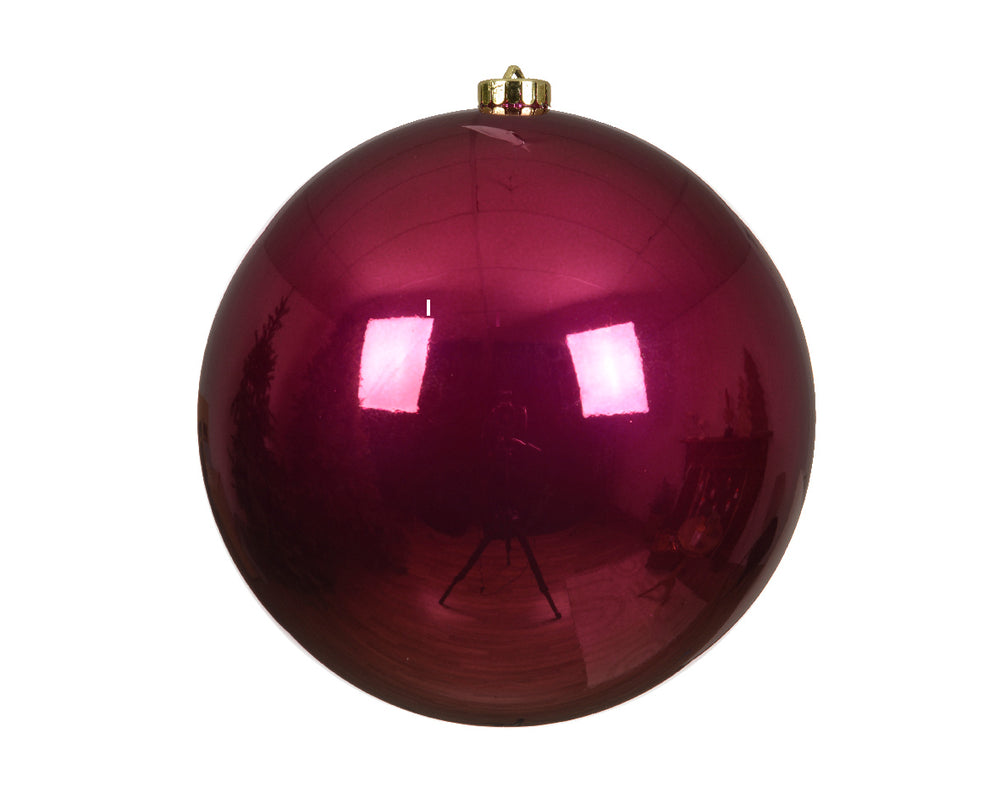
We recommend placing larger ornaments on the inside of the tree to add depth. Save your favorite large ornaments to showcase by putting them towards the outside of the branches. Fill in remaining space with small and medium sized ornaments.
Shop Ornaments.
Step 7: Add the final touches
Now is the time to make any final additions or fill in any spaces that you might have missed. Glitter tape, bows, or keepsakes are great add ons. Take a step back and look at your tree. Isn’t it beautiful?





1 comment
I have been shopping at your store for years it is the best most creative store